Setting Up UV's and Mesh Merging (Killing Floor 2)
Introduction
In Killing Floor 2 each mesh has at least 3 UV channels.
- Channel 0 is the base texture UV
- Channel 1 is the light map UV for storing static shadow information.
- Channel 2 is used for splatter maps (persistent blood). It's best to keep this channel full of planar surfaces.
In this instance we will be merging our meshes in our custom map package instead of creating a package outside of our map.
Basic Asset UV's
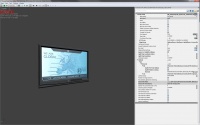
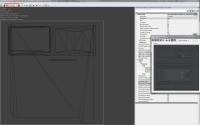
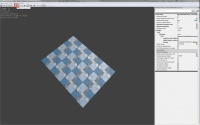
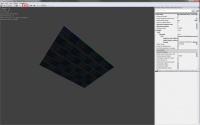
Here is a basic asset in KF2. Notice it has 3 UV channels, use the UV button in the top left to look at the UV's for each channel.
UV Channel 0 - Base Texture
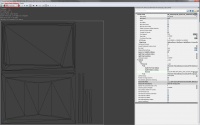
UV Channel 1 - Light Map
Notice the light map channel has no overlapping UV faces. Overlapping UV's would cause shadowed areas to appear where may not be, because the UV's may be overlapping on a section that is in shadow.
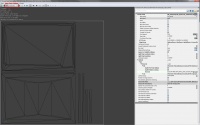
UV Channel 2 - Splatter Map
In this case the Light map UV's were duplicated over to the Splatter map channel. Planar UV's are what your looking for in a good Splatter map. Imagine your throwing a bucket of blood on this Tv, you would expect the blood to cover all the faces as one splat. If the UV's for the splatter map are not planar you may get seams that don't make any sense. Sometimes seams are unavoidable given the complexity of the object. In this case a planar map of the front faces and back faces worked out fine.
Mesh Merging [TW Tool]
In this section we will merge a group of floor pieces into one continuous mesh. Merging meshes is a massive optimization for many reasons if done intelligently. Splatter maps also need a large continuous planar surface to get the best results.
Merging Best Practices
When merging meshes in your map, try and limit the number of unique assets in the merge. Every unique asset in your merged mesh will add another material ID to your mesh. To many material IDs can lead to poor performance. A max of 4 or 5 is recommended for a mesh around 2k on the poly count. Reduce material IDs as the poly count rises.(This also really depends on how your map is running)
Another good practice is to merge meshes based on their location. You want to have large meshes occlude as soon as possible. Try to merge up to corners, then around the corner make a new merged mesh. This way as soon as you don't see the mesh around the corner it can be occluded. Try and merge meshes up to natural seams, to avoid having extremely large meshes in the world. Large meshes in the world will almost always be rendered, this can be a performance drain. Sometimes a simple 2 to 1 mesh merge is the answer and sometimes with floors an 8 to 1 is even better. Look at our official maps and get a sense of where and why we merged.
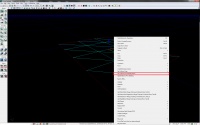
Step 1
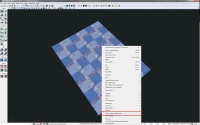
Select all the meshes you would like to merge, right-click and choose Combine Static Meshes[TW]
Step 2
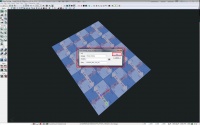
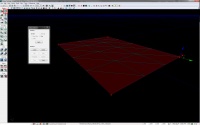
Enter The name of your map under the Package field and name your mesh something that makes sense to have a lot of. Combined_Something_01,02,03 etc.
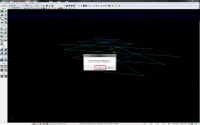
Step 3
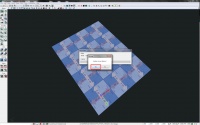
Choose Yes to combine convex collisions. This will keep all your collision hulls in this new mesh. We will be merging them into 1 large hull later.
Step 4
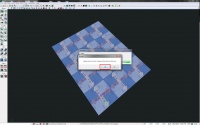
Choose Yes to replace actors in scene. This will remove all the single pieces in the scene and use your new combined mesh in it's place. This is important because your new combined mesh will have it's pivot centered on the bounds of the mesh. Having this type of pivot position could make it pretty difficult if not impossible to get the mesh exactly on grid later on depending on what your merging.
The new mesh has been created and put into the scene. Now is a good time to save the map. Locate the new combined mesh in the map package for the next section.
Combined Mesh UV Creation
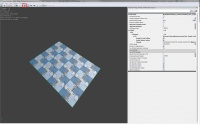
Now that we have our newly combined mesh we need to give it some UV's for Light and Splatter Maps. As long as your only merging planar surfaces (Floors,Walls and Ceilings) you can use our in editor planar map UV tool.
Step 1
Open the merged mesh in the static mesh viewer. In the upper left hand select the small green checkerboard.
Step 2
- Select Create New Planar UVs [TW]
- Rotate your mesh so it's facing you. Use the Mesh Rotation in the bottom right to make this exact after you get it close by hand.
- Hit Apply, notice we just created UV channel 1 (light map) for Mesh LOD 0 (base mesh)
Step 3
- Change UV channel to save results to to channel 2.
- Hit Apply, This time we created a planar UV for channel 2 (Splatter map)
Step 4
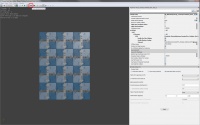
This step is really just for your own sanity later down the line, if you have to regenerate for any reason and so you can see what mesh you have selected in the browser. In the upper left menu select the eye to capture a thumbnail image in this position. When you open the mesh again it will be in the perfect planar position to start if you have to regenerate UV's.
That's it, UV's are done :)
Remaking Collision
In this section we will take the large number of single collision hulls and merge it into 1 hull.
Step 1
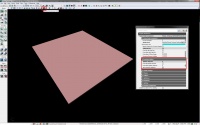
- Show only your combined mesh in the world
- Locate your builder brush (if you don't see it try hitting 'B' to toggle its visibility.
- Enter Brush edit mode and use the orthographic view to surround your mesh perfectly with the builder brush.
Step2
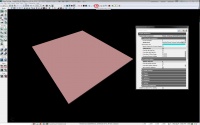
With your mesh selected right-click and choose Set Collision from Builder Brush.
Choose Yes to replace the meshes collision.
Now if you go back to the static mesh browser and look at your collision again, you now have 1 box instead of a large group.
Splatter Map Resolution
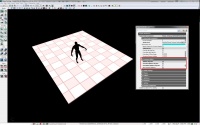
Next it's time to set the Splatter map resolution. This is not an exact science, The goal is to get the level to have a uniform resolution across all assets. If the splatter maps are not uniform across everything it's not the end of the world. Some variation in blood splat scale is barely noticeable. I personally use the clot model to gauge the Splatter map scale.
Step 1
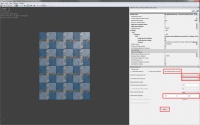
- Switch over to SplatterMap Density [TW]
- Open the properties of your mesh and locate the Persistent Splats section.
Step 2
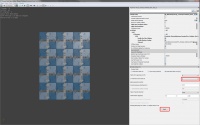
- Select Build Splatter Maps [TW]
The map will build Splatter maps and try and pick a resolution based on the scale of the asset (sometimes it works well and sometimes it doesn't)
Now refine by selecting Override and putting in your own value. In this case a value of 10 looked pretty good to me compared to the clot.
Step 3
- Save
- jump in game open the console (`) and type enablecheats this will let you enter cheats (stats will disable).
- type spawnai clot
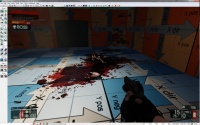
- Shoot the clot and you should see the persistent blood cover your mesh with no visible seams.
That's it your done! w00t!!
Complex Collision Creation (Portal Entry)
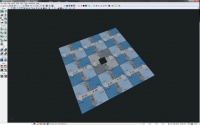
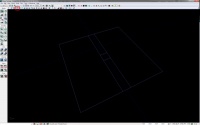
In this section we will do a bit more of a complex collision to support merged ground or wall meshes with portal spawns. The steps are almost the same but require a bit more brush work. This is the mesh we will be using -
The portal spawn is located in the center of the floor section. We need to cut out a hole in the collision of this mesh in order to let the enemies come out.
Step 1
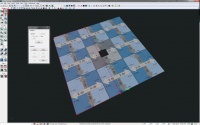
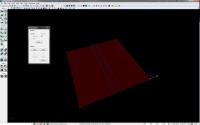
Just like before use your builder brush in edit mode to start surrounding the mesh. This time bring the brush right to the edge of the hole.
Step 2
- Click on the additive brush button. This will place an additive csg brush in place of your builder brush.
- Slide your builder brush around and resize it, hit additive again. repeat this process until your hole is cut out but the rest of your mesh is encased in additive brushes.
Try to do this with the least amount of brushes as possible. A lot of collision primitives on a mesh can be a performance drain during gameplay.(Especially on floors).
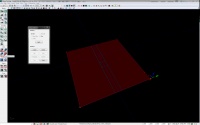
- Hide static meshes and the builder brush, then go into brush wireframe mode to check your additive brushes.
Step 3
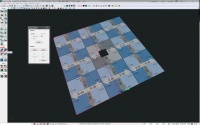
- Next surround your additive brushes with the builder brush. you can make the builder brush really big if you want as long as all the additive brushes are inside it.
- Now click the intersect button to the left.
Your builder brush will take the shape of your Additive brushes but as one object.
Step 4
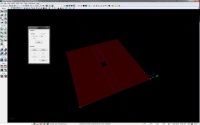
- delete your additive brushes and rebuild geometry. You are now left with the builder brush ready to use as your collision.
Step 5
Just like before, right-click on your mesh and choose Set Collision from Builder Brush.
And your done!
| |||||||||||||||||||
