Getting Started with Mapping (Killing Floor 2): Difference between revisions
Delta-ranger (talk | contribs) No edit summary |
Delta-ranger (talk | contribs) |
||
| Line 1: | Line 1: | ||
==Introduction== | ==Introduction== | ||
This page includes a comprehensive guide on getting started with the Killing Floor 2 SDK for creating Maps and uploading them to the Steam Workshop. This page will only cover the essentials, further elaboration will need to be done at your own discretion; it is recommended that any new Level Designer should begin by looking at Official Maps and seeing how they approach particular scenarios. | |||
==Installation and First Launch== | ==Installation and First Launch== | ||
=== Installation === | |||
To install the SDK: | |||
# Open up Steam, hover over 'Library' and select the 'Tools' option. | |||
# From here locate 'Killing Floor 2 - SDK' and install it as you would any game on Steam | |||
# Once the download is complete, launch it as you would any other game. | |||
{{Note|1= If an opt-in Beta/preview is happening at the time, both the game and the SDK need to be on the same branch. Otherwise the SDK will crash on launch. <br /> | |||
i.e. If you are in the opt-in Beta for an update, the SDK also needs to be on the opt-in Beta.}} | |||
=== First Launch === | |||
{{Col-begin}} | |||
{{Col-break|width=70%}} | |||
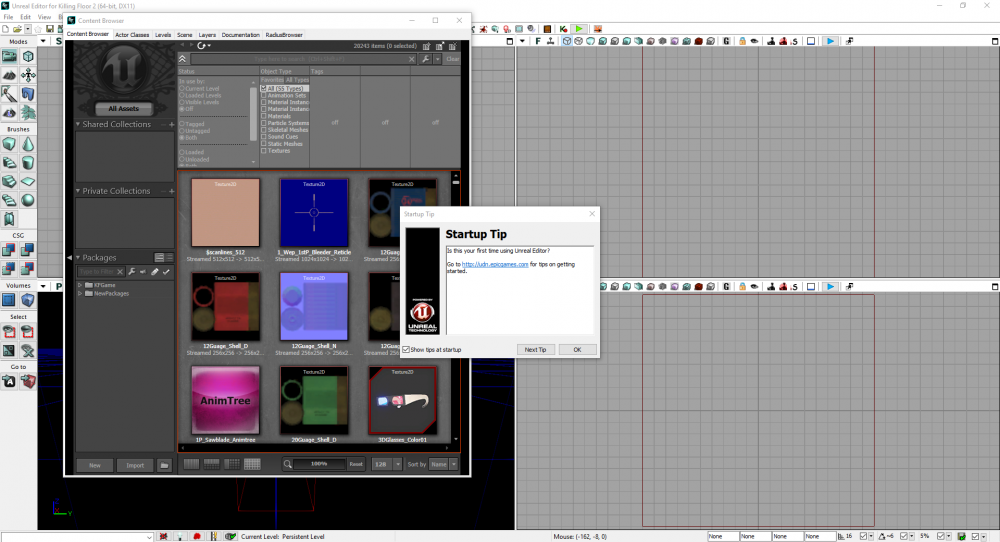
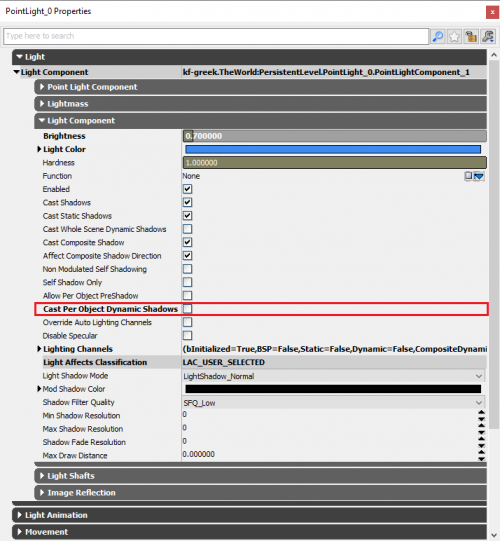
On first launch you may be prompted with a couple of dialogs. They are things that don't affect the editor or its performance so you can ignore and click past them. '''See Figure 1.1'''. | |||
Past all the error dialogs your Editor should look something like '''Figure 1.2''' below. | |||
[[File:DefaultEditorState.png|none|thumb|1000px|'''Figure 1.2:''' Default State of the Editor]] | |||
{{Note|1= For new users, I highly recommend reading the <b>Startup Tips</b> and not disabling the prompt, they often contain useful tips on how to use different aspects of the SDK.}} | |||
{{Col-break|width=30%}} | |||
[[File:PointlightDynamicShadows.png|500 px|thumb|'''Figure 1.1:''' Error Prompts that can be ignored]] | |||
{{Col-end}} | |||
==Interface Guide== | ==Interface Guide== | ||
| Line 17: | Line 41: | ||
==Setting up Spawns and Pathing== | ==Setting up Spawns and Pathing== | ||
== Testing Your Map == | ==Testing Your Map== | ||
==Map Optimization== | ==Map Optimization== | ||
Map Optimization is the arguably one of the most important steps when completing a map. Aside from having good playable spaces, the map needs to perform well on all machines; maintaining stable Frames per Second (FPS). The following guide is a comprehensive list of areas that should be addressed before publishing a map. '''''<u>EVERY</u>''''' step should be evaluated and addressed as they will all add to performance. | |||
'''Comprehensive Wiki Guide:''' [[Map Optimization Guide (Killing Floor 2)]] | |||
==Publishing to the Workshop== | ==Publishing to the Workshop== | ||
Revision as of 02:55, 8 March 2019
Introduction
This page includes a comprehensive guide on getting started with the Killing Floor 2 SDK for creating Maps and uploading them to the Steam Workshop. This page will only cover the essentials, further elaboration will need to be done at your own discretion; it is recommended that any new Level Designer should begin by looking at Official Maps and seeing how they approach particular scenarios.
Installation and First Launch
Installation
To install the SDK:
- Open up Steam, hover over 'Library' and select the 'Tools' option.
- From here locate 'Killing Floor 2 - SDK' and install it as you would any game on Steam
- Once the download is complete, launch it as you would any other game.
| If an opt-in Beta/preview is happening at the time, both the game and the SDK need to be on the same branch. Otherwise the SDK will crash on launch. i.e. If you are in the opt-in Beta for an update, the SDK also needs to be on the opt-in Beta. |
First Launch
Interface Guide
Your First Map
Placing Assets and Props
World Lighting
Building (Baking and Cooking)
Using the Brushes (BSP) and Volumes
Setting up Spawns and Pathing
Testing Your Map
Map Optimization
Map Optimization is the arguably one of the most important steps when completing a map. Aside from having good playable spaces, the map needs to perform well on all machines; maintaining stable Frames per Second (FPS). The following guide is a comprehensive list of areas that should be addressed before publishing a map. EVERY step should be evaluated and addressed as they will all add to performance.
Comprehensive Wiki Guide: Map Optimization Guide (Killing Floor 2)
Publishing to the Workshop
Miscellaneous
| |||||||||||||||||||

