Outpost
Outpost is a Killing Floor 2 map. It is one of the three maps that came out with the Killing Floor 2 Early Access release. The other being Biotics Lab and Burning Paris.
Since the Back & Kickin' Brass update this map is also compatible with the Objective mode where players have to accomplish certain mandatory tasks in order to advance in the game.
Description
| Killing Floor 2 Tripwire Official map | ||
Outpost | ||

| ||
General Information | ||
| Author | Tripwire Interactive | |
| Trader Locations | 6 | |
Map Information | ||
| Weapon Spawns | 17 | |
| Ammo Spawns | 17 | |
| Player Spawns | 24 | |
| Zed Spawns (Boss Spawns) | 87 (8) | |
Related Achievements | ||
"Located north of the Arctic Circle, contact was lost with this remote experimental facility in the wake of the early European Zed outbreaks. Now teams are being sent to find out what happened to Outpost facility and if any of the staff are still alive. Unlikely."
Artbook Description
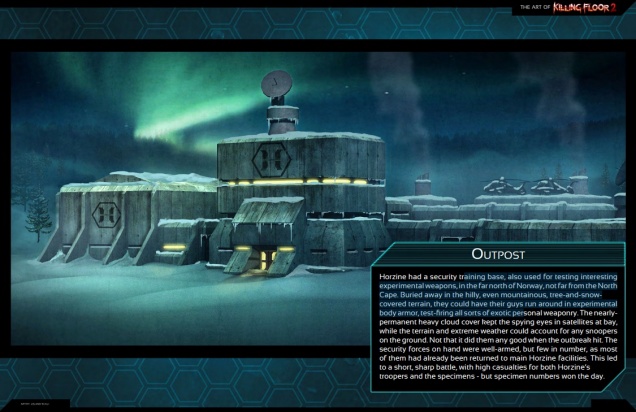
"Horzine had a security training base, also used for testing interesting experimental weapons, in the far north of Norway, not far from the North Cape. Buried away in the hilly, even mountainous, tree-and-snowcovered terrain, they could have their guys run around in experimental body armor, test-firing all sorts of exotic personal weaponry. The nearlypermanent heavy cloud cover kept the spying eyes in satellites at bay, while the terrain and extreme weather could account for any snoopers on the ground. Not that it did them any good when the outbreak hit. The security forces on hand were well-armed, but few in number, as most of them had already been returned to main Horzine facilities. This led to a short, sharp battle, with high casualties for both Horzine’s troopers and the specimens - but specimen numbers won the day."
Objective Mode
This map can be played in Objective mode. Story involving mercenaries assisting Dr. Ogada Buyu, a Horzine employee, in retrieving server data from the abandoned Horzine base before destroying all traces of it to eliminate the ZED threat.
| Wave № | Objective | Story | Notes |
|---|---|---|---|
| 1 |  |
First things first, the trader pods are offline and players have to use their welders to establish the supply line. | Trader pod weld integrity = 1600 points. 4 pods need to be fixed. Initial delay before objective starts = 20s. Each next pod takes 5s. to appear. |
| 2 |  |
Important Horzine data stored on the main facility's servers. Buyu wants you to extract it and overload servers in a process. Survivors make their way to server's control panel and keep the ZEDs out of the area. | Activations required = 4. Initial delay before first activation can be performed = 25s. Each next activation takes 20s to recharge. Player thresholds: 1p - 1, 2p - 1, 3p - 2, 4p - 2, 5p - 3, 6p - 3. ZEDs thresholds: 1p - 5, 2p - 4, 3p - 4, 4p - 4, 5p - 3, 6p - 3. |
| 3 |  |
Survivors are tasked to accompany and protect security drone needed for hacking the data terminal. | Drone max speed = 1 m/s, 2 meters when players nearby. Drone does not move when ZEDs are close. Speed decreases as the health of the drone goes down. Health = 400. Health to restore by one welder tick is a % of 68 (119 for Support) / cart's Max Weld Integrity, which is 1p = 1500, 2p = 2000, 3p = 2500, 4p = 3000, 5p = 3500 and 6p = 4000. |
| 4 | Drone is by the terminal and now Dr. Ogada Buyu wants to to collect Datapads containing "sensitive" information. In a meantime weather gets worse and outside it become harder to see. | 3 Datapads have to be collected and there are 6 possible spawn points for these. Initial delay before first datapad appears = 30s, each next = 5s. Once dropped, time until it resets back to random spawn point = 20s. | |
| 5 | |
The data recieved and drone is on its way to communication tower. And so are survivors. | see Wave 3 notes. |
| 6 | |
Buyu gets what she needs and tasks mercenaries to overload the com tower's power relay in order to destroy the facility. Players once again operate the control panel while holding the area clean of the ZEDs. | Activations required = 5. Initial delay before first activation can be performed = 30s. Each next activation takes 20s to recharge. Player thresholds: 1p - 1, 2p - 1, 3p - 2, 4p - 2, 5p - 3, 6p - 3. ZEDs thresholds: 1p - 5, 2p - 4, 3p - 4, 4p - 4, 5p - 3, 6p - 3. |
| 7 |  |
Patriarch himself makes and appearance to stop the survivors. | Patriarch has 100% chance to become a boss. |
| 8 |  |
Buyu sends a helicopter to extract survivors. While it arrives players have to defend the area. Once the last of the ZEDs are killed, the cutscene shows players leaving the area. The facility then explodes wiping out all tracks of the Horzine activity. | Hold time = 120s. Player thresholds: 1p - 1, 2p - 1, 3p - 2, 4p - 2, 5p - 3, 6p - 3. ZEDs thresholds: 1p - 5, 2p - 4, 3p - 4, 4p - 4, 5p - 3, 6p - 3. |
Apparently Dr. Ogada Buyu works undercover, might even be mole. As she helps survivors, her co-workers find her actions suspicious. At some point she locks herself in a room while security officer tries to break through. Eventually she shots him in a face and later makes a call to his superious pretending that he has commited suicide. Frankly, they do believe.
Gallery
-
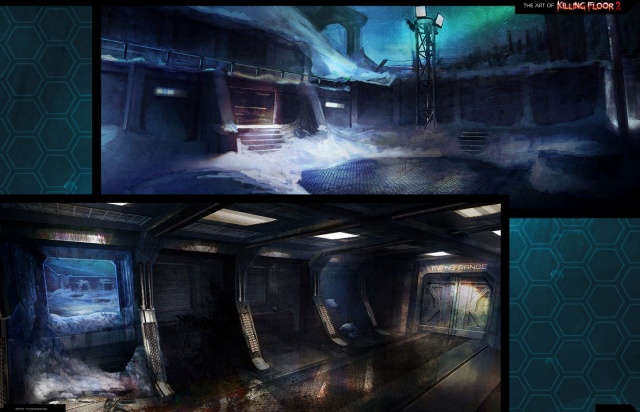
Artbook concept 1
-
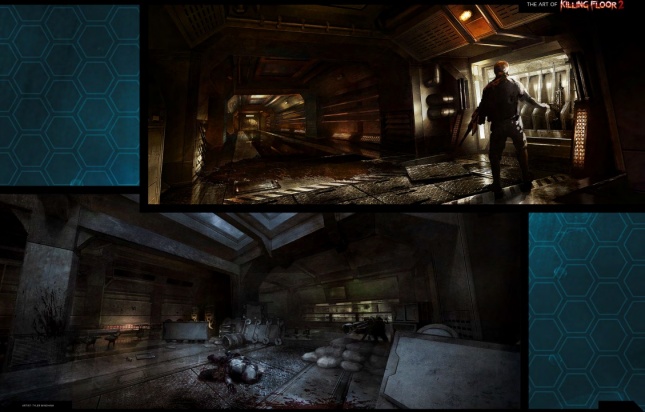
Artbook concept 2
-
Artbook concept 3
-
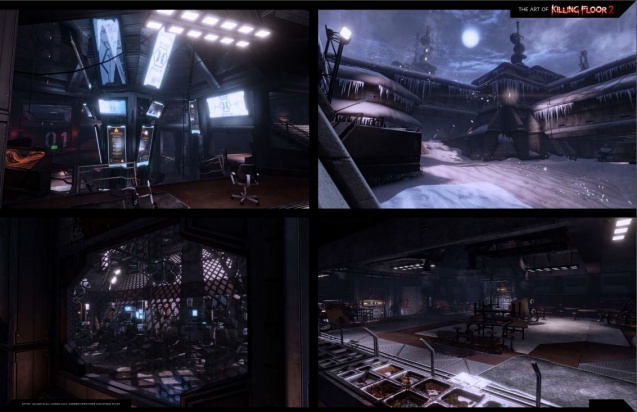
Various locations


